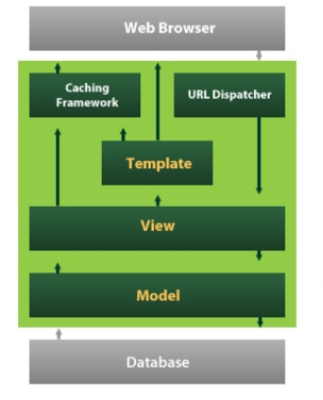
Creating a project in Django - Step 3
In my last blog post, we've installed Python and Django, today we are going to create a Django project.
Steps: -
Steps: -
- Open Command prompt in admin mode and go ahead and navigate to wherever you want to create Django project. I have created this project in Learn Django dir.
- This is tool which we have got to create starter Django files.These are just the core files which we have to use in Django project. so, the command for that
- django-admin startproject MyFirstDjangoProject
- This will create Django project file structure
- Lets open the project in Pycharm which is JetBrains tool
- Let talk about the manage.py file first and other files which we are going to use.
- Never edit this file,Never delete this file
- Its a program that comes with Django and lets do bunch ok cool stuff its allow you to access Database, create user and learn more how and when we use this file.
- settings.py:- This file is used for configuration and setting like configuring the database registering the app, creating users. This file also contains the overall setting of the project.
- url.py:- these are url declaration or you can your route config of your Django project.
- Now are all set and created our Django project lets run the application.
- Django comes with little development server which we going to run.
- python manage.py runserver
- Hit http://localhost:8000/ in browser


minecraft premium
ReplyDeleteuc satın al
özel ambulans
nft nasıl alınır
yurtdışı kargo
en son çıkan perde modelleri
en son çıkan perde modelleri
lisans satın al